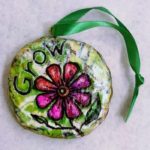
 I love having little inspirational items around my house and studio. They bring a little bit of joy to me and my visitors. Spring is right around the corner and I can’t wait! I love seeing things come to life and grow, so that was the source of inspiration for this ornament.
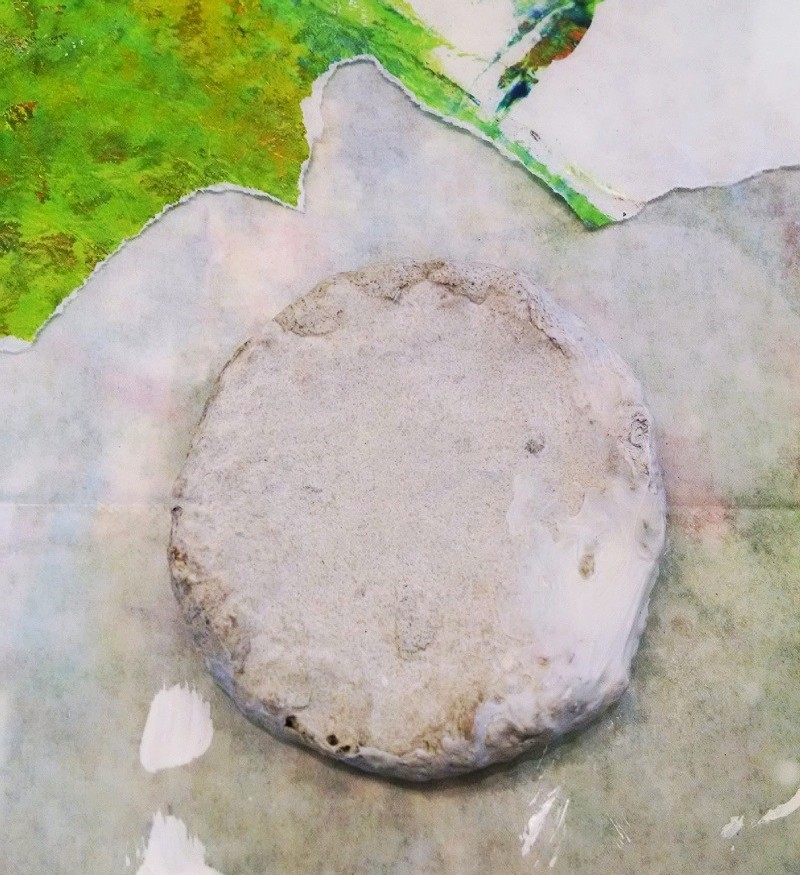
This little Grow ornament began life as a paper mache disk. I made a bunch of paper mache hearts and stars and circles out of ordinary paper and flour/water paste several months ago, and have had them sitting in my studio, just waiting for the right project. What could be better than this sweet thing?
 Materials Needed:
- A round form: could be paper mache, wood, a river stone, or even a cardboard or plastic shape. Whatever appeals to you!
- A selection of prints made with a Gelli Arts® printing plate
- Mod Podge and a brush
- Sharpie markers, gel pens, and paint pens
- A small screw eye
- Ribbon
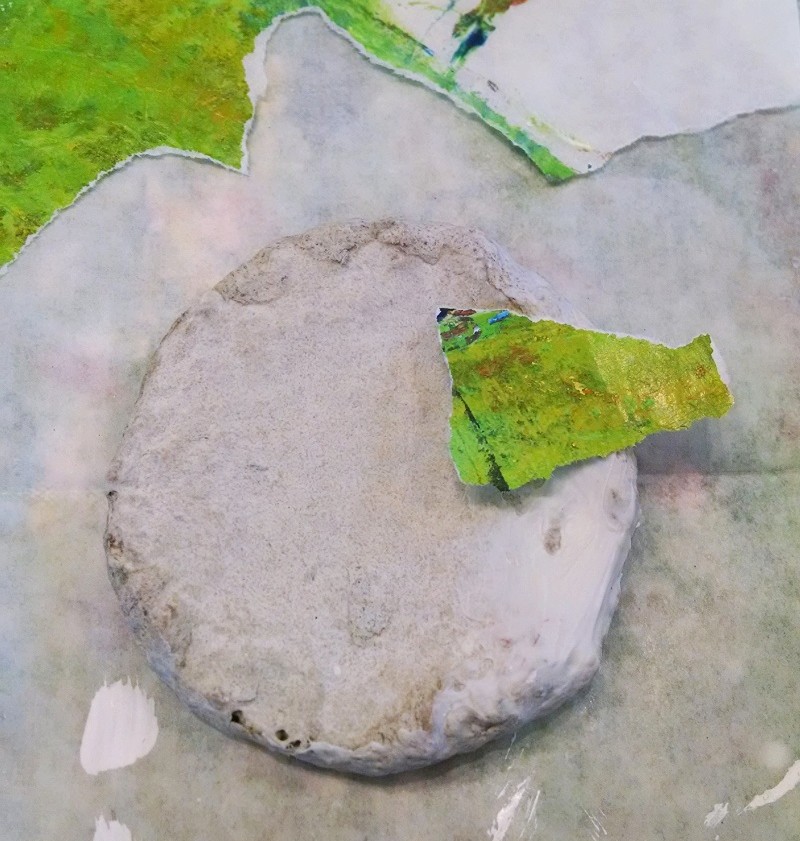 Because I wanted to use the word “Grow” on this ornament, I choose several Gelli prints in bright Spring green colors. I tore the prints into small pieces, about 1-2 inches across.
Using an old brush, I applied Mod Podge to the disk, and glued the pieces of the Gelli prints to the form.
Now, here’s where things get gluey! Although I always start with a brush, I find it’s easiest to get in there with my fingers to smooth out any wrinkles or bubbles in the paper.
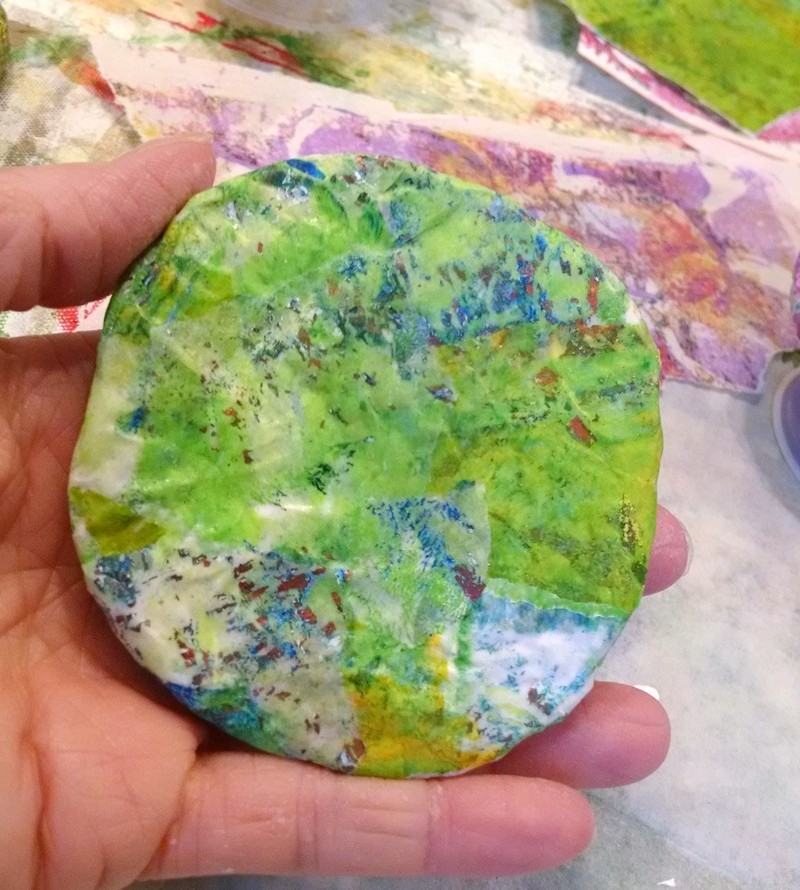
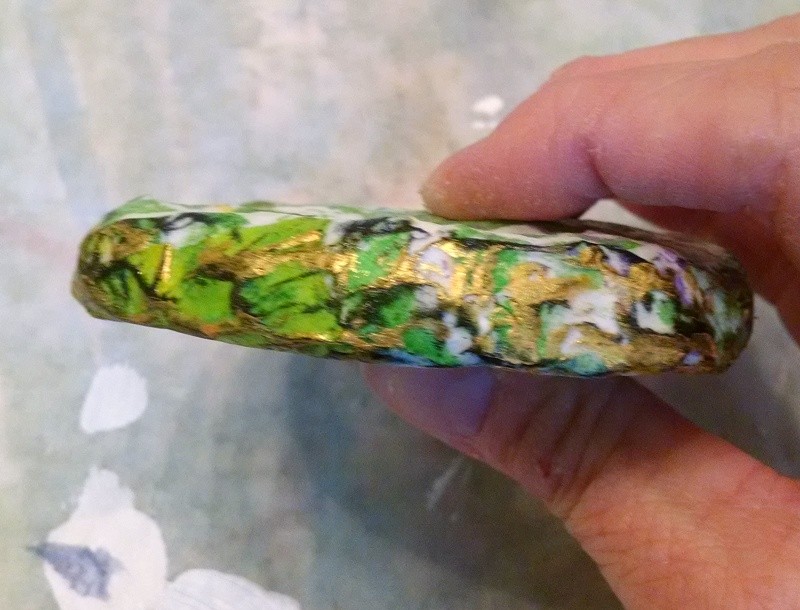
I made sure to cover both sides and the edges. Here are photos of each side of the shape.
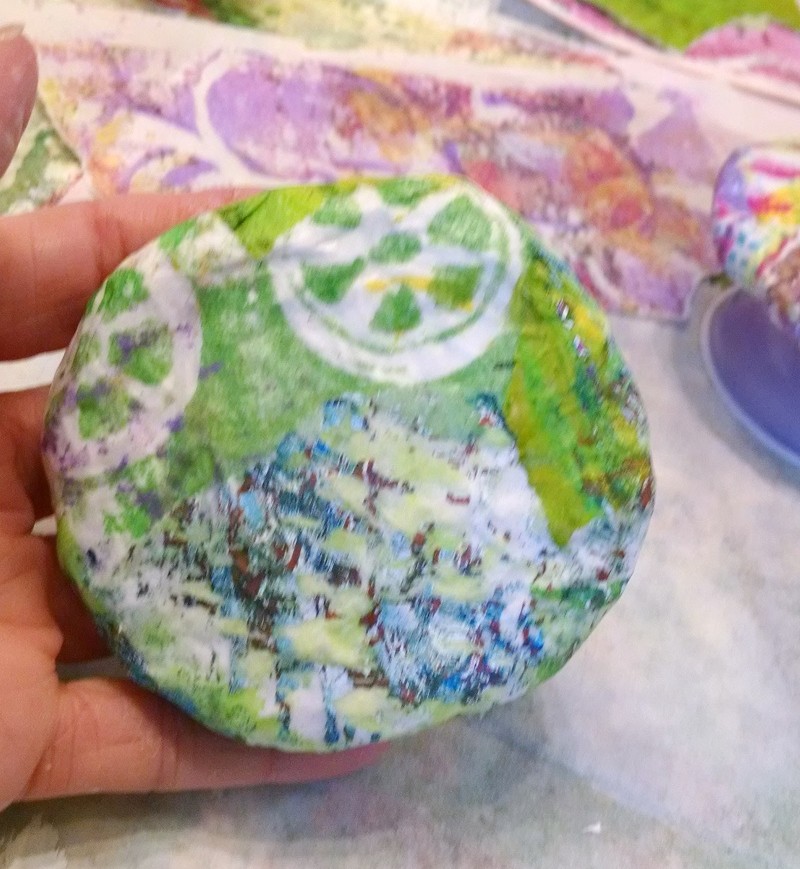
I liked the side with the wagon wheel shapes best, so that side became the front of my ornament. (Those shapes are made by pressing the end of a spool of thread onto my Gelli plate.)
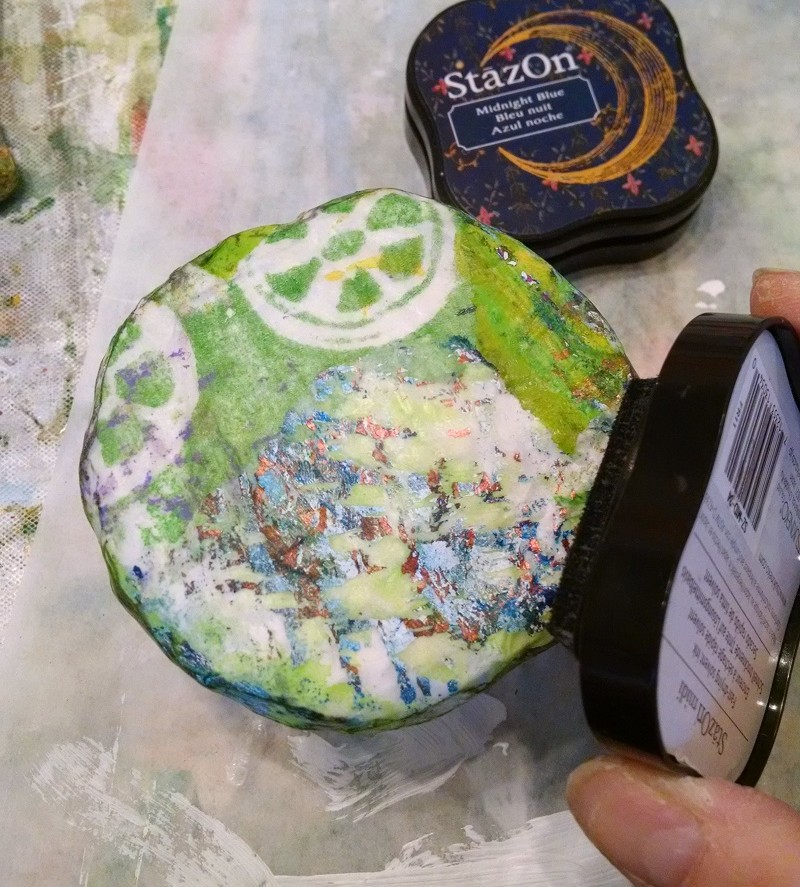
For a bit of contrast, I rubbed a dark blue ink pad along the edges.
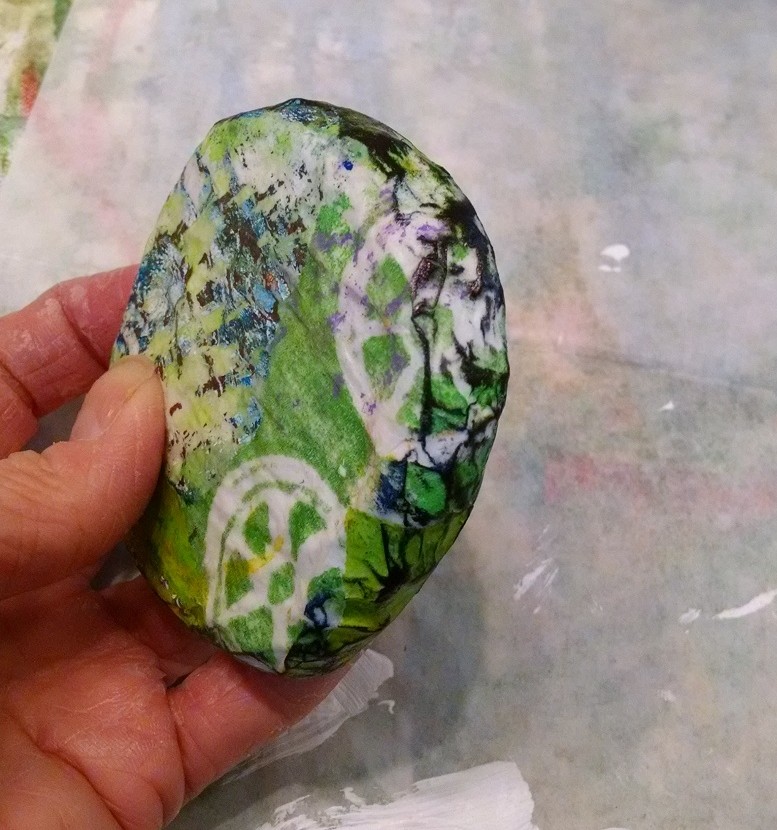
The edges needed a bit more sparkle. A gold watersoluble crayon did the trick!

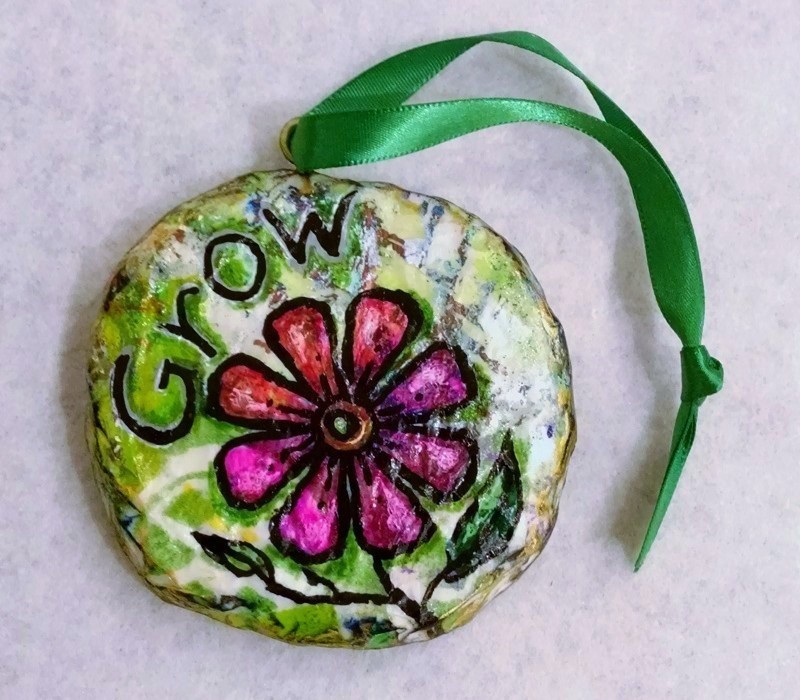
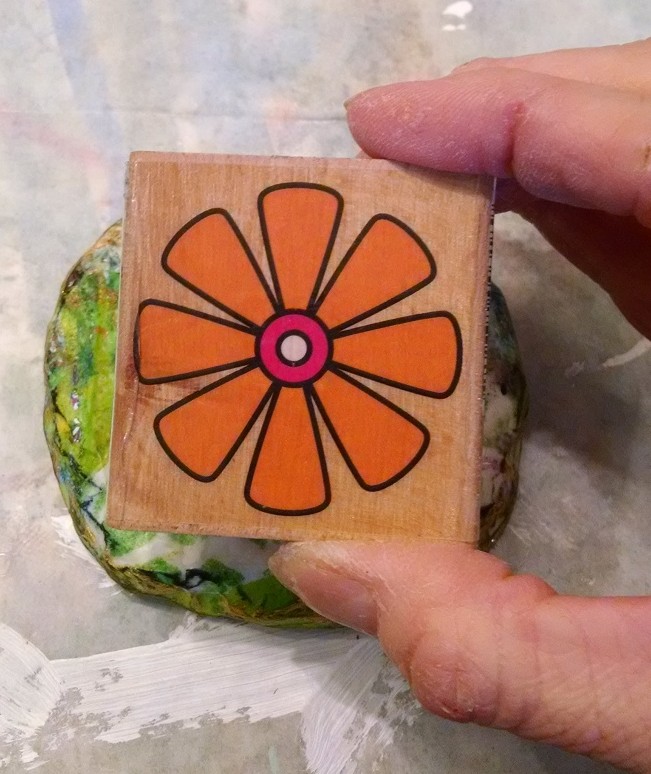
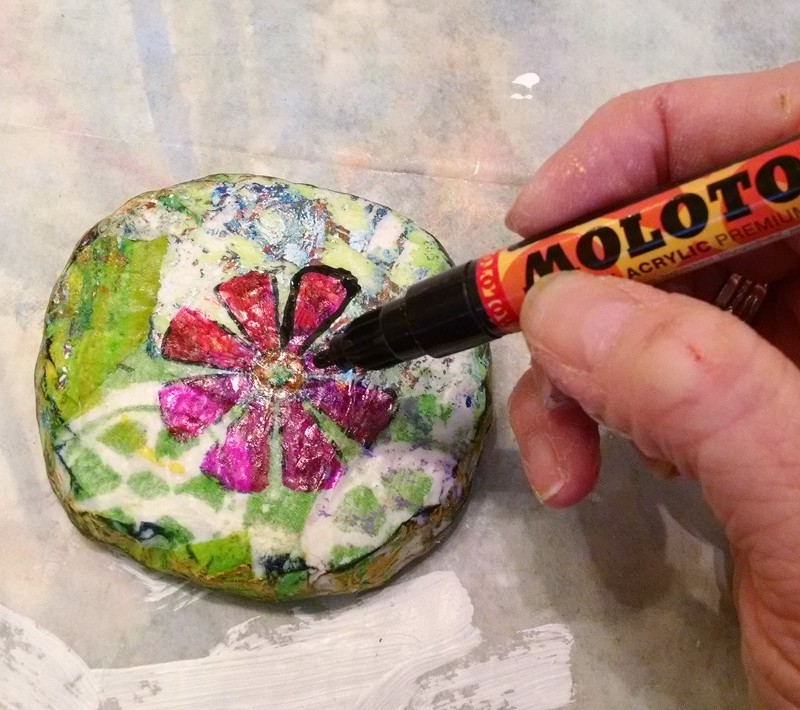
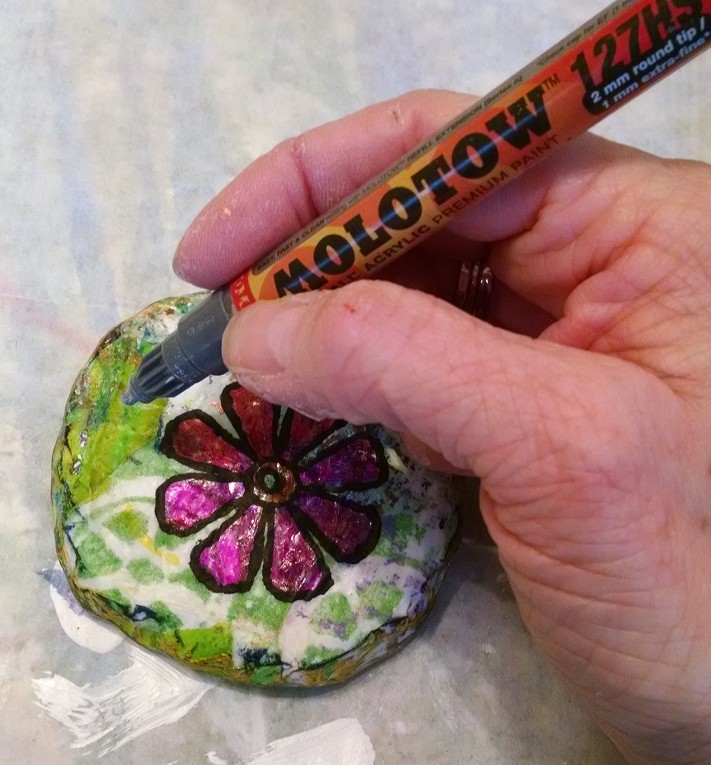
Then, I stamped a fun flower shape onto the front of my ornament, and colored in the petals using bright pink Sharpie markers. Next, I outlined the flower using a black paint marker.
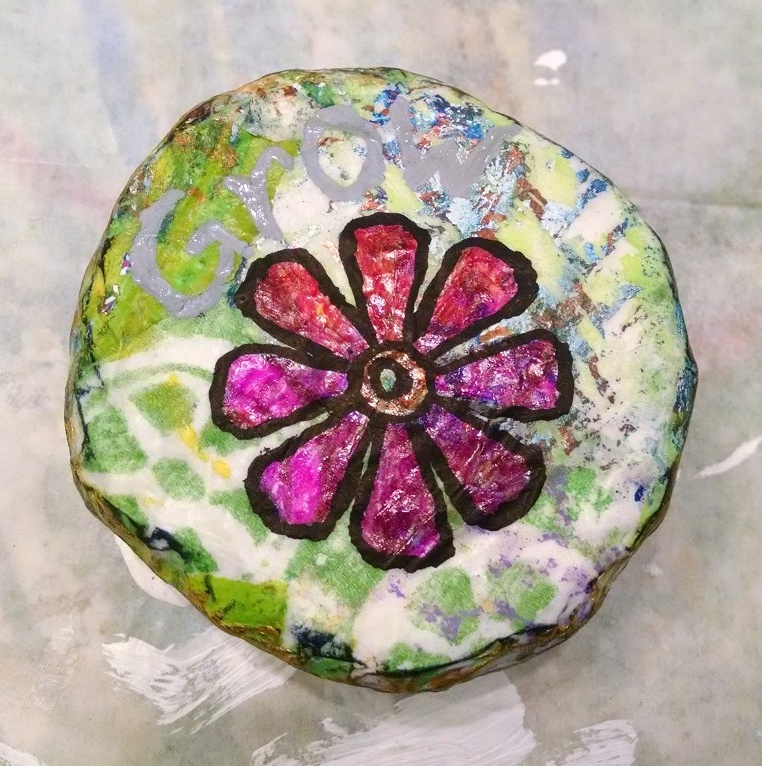
Using a gray paint marker, I wrote the word Grow above the flower. When the paint was dry, I used the black paint marker to write the word again on top of the gray letters, making it stand out nicely.
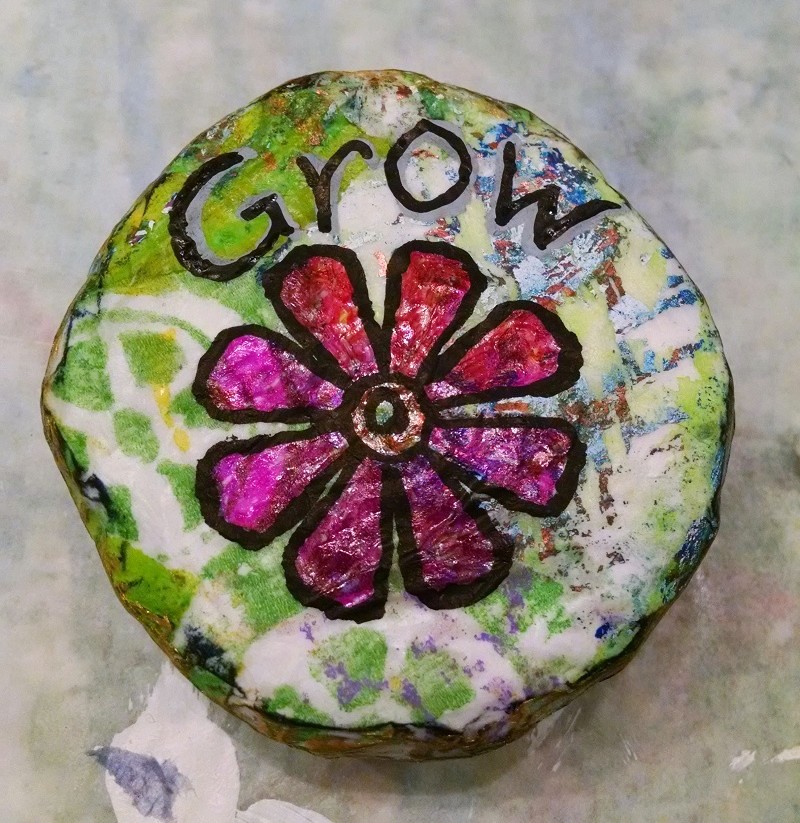
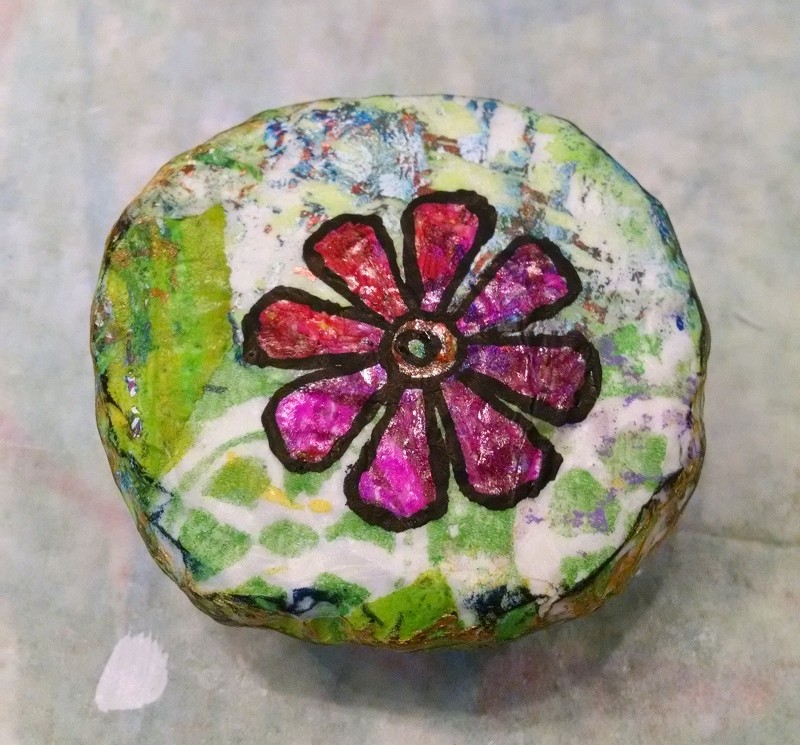
Time for finishing touches! With my black paint marker, I added a stem and leaves to my flower. With a white gel pen, I added highlights to each petal. Just makes them come alive, don’t you think?

Now to turn it into an ornament! I attached a teeny tiny screw eye to the top and strung a bit of green ribbon through.
It’s the perfect little bit of positive inspiration to hang in my studio. I love being able to see it in the morning as I get to work.
For a printable version of this project, download the tutorial here:
Making an Inspirational Ornament.
![]()